DIY Fence Installation Tips for New Bedford, Massachusetts Homeowners
Are you a New Bedford homeowner looking to enhance your property with a new fence? This comprehensive guide is designed to empower you with the knowledge and step-by-step instructions needed for a successful DIY installation. From understanding your fencing options unique to New Bedford properties, to mastering essential tools and techniques like post setting and string line alignment, we’ve broken down the process into manageable sections. By following these tips, you’ll not only save on costs but also take pride in a beautifully installed fence that complements your home.
- Understanding Your Fence Options for New Bedford Properties
- Measuring and Planning Your Fencing Project
- Essential Tools Required for DIY Installation
- Step-by-Step Guide to Post Setting and String Line
- Finishing Touches: Installing the Railing and Panels
Understanding Your Fence Options for New Bedford Properties
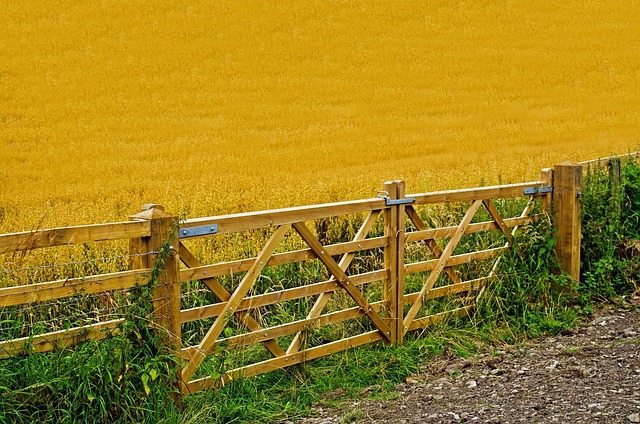
When it comes to fencing your New Bedford, Massachusetts property, there are numerous options available, each with its own unique benefits and drawbacks. The first step in your DIY fence installation project is understanding what suits your needs and landscape best. Wood fences offer classic beauty and come in various styles, from picket fences to privacy panels. They require regular maintenance but can last for decades. Vinyl fencing is another popular choice, known for its low-maintenance nature, durability, and wide range of colors and designs. However, it may not be as aesthetically flexible as wood. Chain-link fences are ideal for security and are often chosen for backyards with children or pets due to their ease of repair and affordability. Consider your privacy needs, aesthetic preferences, budget, and the overall condition of your property when making this decision.
Measuring and Planning Your Fencing Project
Before you begin installing your new fence, careful planning and measuring are essential steps in the DIY process. Start by assessing the perimeter of your property to determine the exact length of fencing required. Use a tape measure to take accurate measurements along the boundary, accounting for any corners, gates, or other features that may affect the layout. Create a detailed plan, sketching out the layout on paper or using digital tools, to visualize how the fence will fit within your landscape. This planning stage also allows you to consider the style, height, and material preferences for your fence, ensuring a well-designed and functional outcome.
Essential Tools Required for DIY Installation
When taking on a DIY fence installation project in New Bedford, Massachusetts, having the right tools is crucial. First on your list should be a set of high-quality hand tools, including a hammer, measuring tape, level, and post-hole digger. These will help you measure, mark, and excavate the perfect holes for your fence posts.
Additionally, invest in power tools like an electric drill with various bits and a circular saw. These will streamline the process of installing brackets, cutting rails, and securing the fence to the ground. Don’t forget protective gear, such as safety glasses, gloves, and ear protection, to keep yourself safe during the installation process.
Step-by-Step Guide to Post Setting and String Line
Setting posts and stringing a line is a crucial step in DIY fence installation, ensuring your fence lines up straight and level. Here’s a straightforward guide to help New Bedford homeowners tackle this task with ease. Begin by marking out your fence line using spray paint or stakes and string. This provides a visual reference for the fence’s alignment. Next, dig holes for each post, making sure they’re deep enough to support the fence’s height plus several inches of soil at the bottom for stability. Use a level to ensure each hole is perfectly vertical before filling them with concrete. Once set, drive posts firmly into place using a sledgehammer or post-setting tool. Finally, stretch a string line along the top of the posts, ensuring even spacing between them, to create a straight and consistent fence line.
Finishing Touches: Installing the Railing and Panels
Once the posts are securely in place, it’s time to focus on the finishing touches – installing the railing and panels. Start by attaching the top rail to the posts using brackets. Ensure the rails are level and aligned correctly for a neat finish. Then, secure the fence panels to the posts and rails with brackets or nails, depending on your chosen material and design.
Make sure each panel is flush against the adjacent one, creating a seamless barrier. Double-check all connections for stability, and consider adding extra support brackets at gate locations for enhanced durability.